Showing posts with label Sewing. Show all posts

Saturday, July 31, 2010

Basement Curtains

A few years ago I made a set of curtains for our townhouse upstairs, heavy to keep out the heat of the sun.  When we moved, I only had one window they would fit. In the kitchen next to the back door:
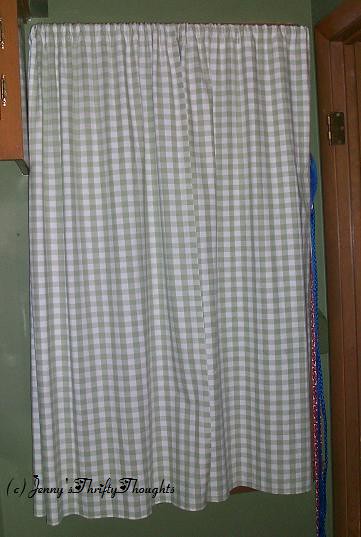
They look kinda wonky here but they're straight.
For the first year that I lived in this house, I had the ugliest curtains on the planet in the laundry room.  I wish I had taken a picture of them, just to show you how hideous they were.  The were orange and brown with diamonds or something, and so crusty and dust-covered that I'm pretty sure they were original to the house. As in 1954.  The reason that I don't have a pic is because as soon as I had the idea to replace them (see below), I took them down and shuddered as I stuffed them into the garbage can, trying not to inhale the cloud of dust and God-knows-what that flew into the air.
Here's what the laundry room wall looks like (just ignore the pretty curtains and place in your mind ugly orange and brown monstrosities):
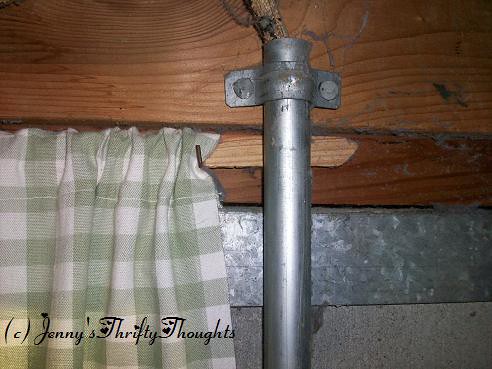
There's no curtain rod, but some previous owner had fixed that with some kind of thin wood stick and some bent nails. Genius.
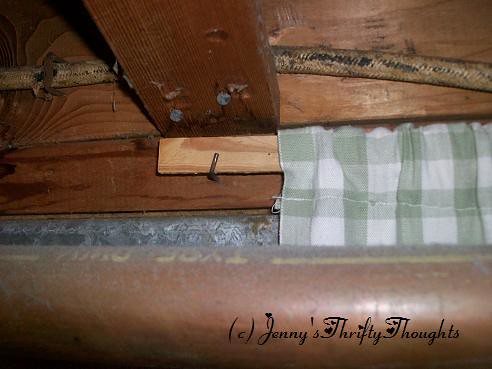
This is what it looks like now. Isn't it lovely? And in the daytime, the room is filled with a soft green glow. Ahhh.
And, for your amusement, here is a pic of Teddy, looking at me like, "WTF are you doing on top of the freaking dryer?" 
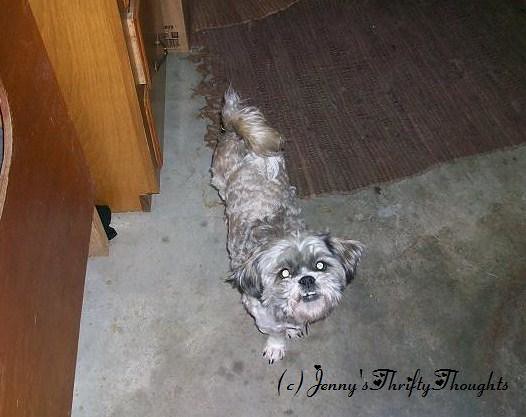
He literally follows me everywhere I go. It's pretty much adorable.

Thursday, June 3, 2010

T-shirt: Boxy to Foxy!

A friend of mine gave me an awesome t-shirt that I totally love, but it was big and boxy and not lady-friendly, if you know what I mean.  So I fixed it.

I don't have a before picture, sorry.

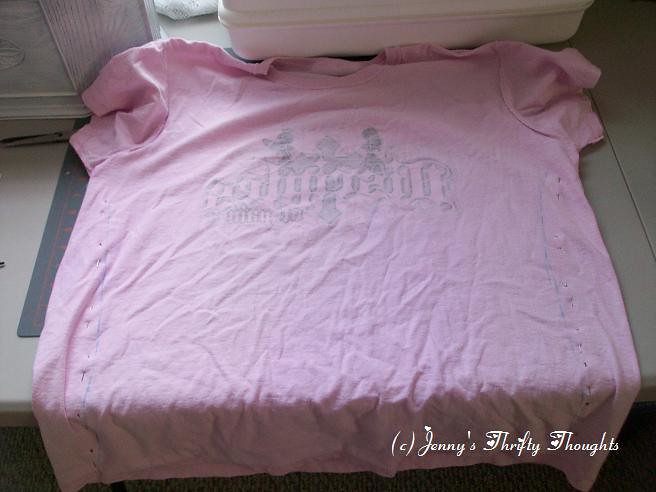
Here's during, I laid a shirt on top of it that fit well and pinned it where I wanted to sew.

Click image to enlarge

Here's after. Look out! Foxy t-shirt!

Click image to enlarge

And yes, those are gushers on the right. They are gluten-free and pure awesome.  And yes, it is June, and those are snowman salt and pepper shakers on the left.  I'm too lazy to clean them out and we haven't used all the salt and pepper in them since I filled 'em up in November.

Friday, May 21, 2010

Birthday Girl! Plush Cube Tutorial

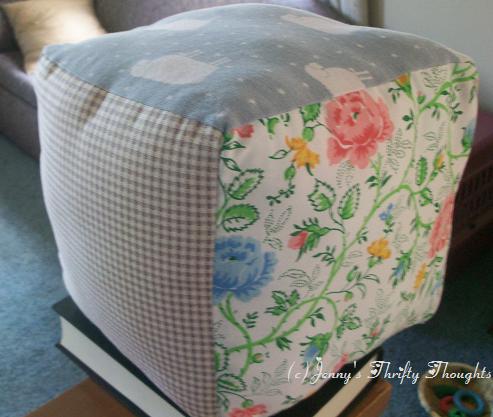
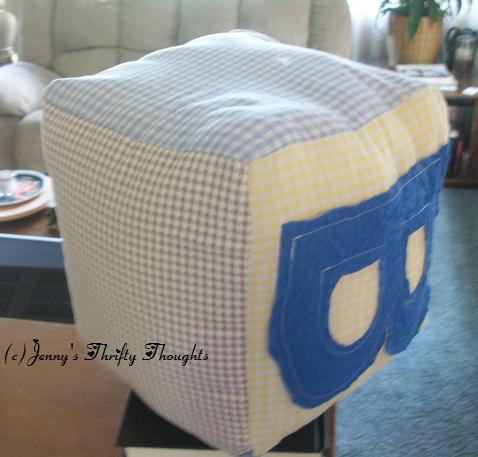
Birthday Girl! Plush Cube:


One of my friends' kids is turning one, and her birthday is tomorrow.  Rather than go and buy something, I thought I'd whip something up.  Inspiration hit me in the shower, and this is what came of it.  This is my first official tutorial, so go easy on me!

Supplies:

  • 9x9 fabric scraps (7 varieties)
  • Thread
  • Easter egg (or other plastic container)
  • Noisemaker (ex: bells, etc)
  • Stuffing/fiberfill
Time: This took me 2 hours, but I bet you could do it in less.


Tutorial 

1. Cut each variety of fabric in an 8.5"x8.5" square.


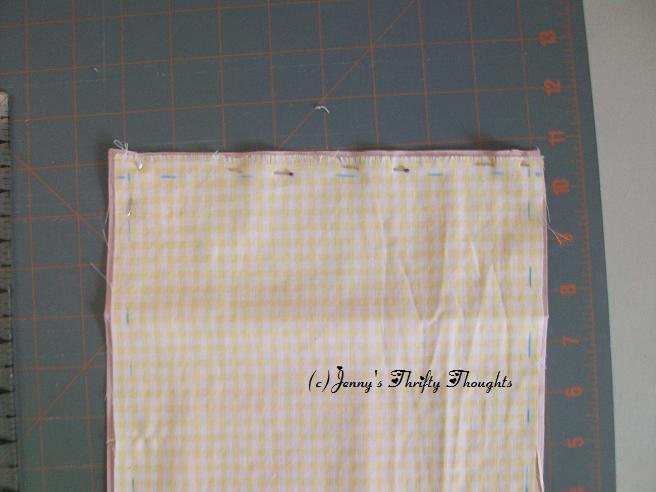
2.  I find it easiest to mark the line I'm going to sew with a colored water-soluble pencil.  You can *almost* see it here:


3. Pin two of the fabric squares together, right sides facing in.


4. Sew along the marked line.


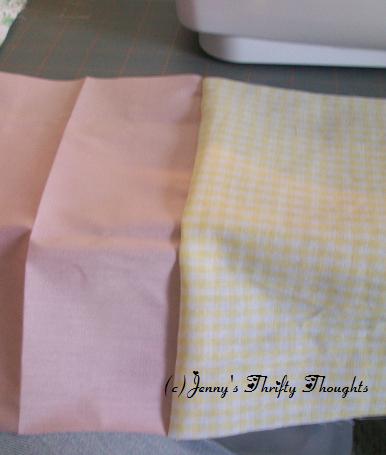
When you have sewn two squares, they should look like this when looking at the right side.


5.  Repeat for all other panels.  Piece them together to form a 6-sided cube, leaving one seam open.

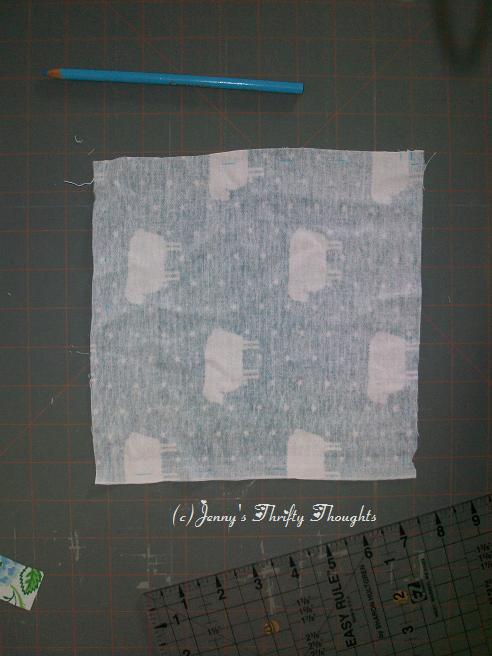
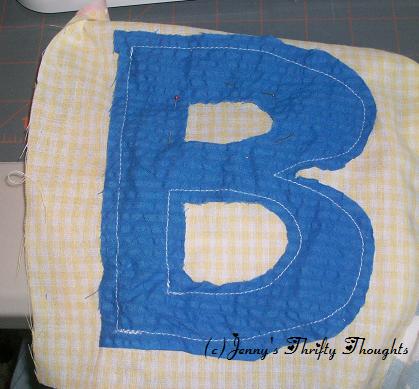
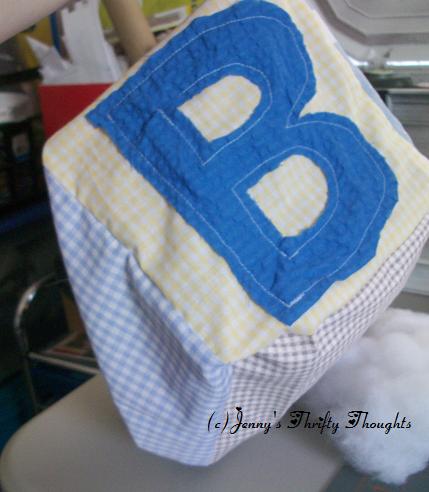
6. Trace and cut out the desired letter from a fun-textured fabric like this one.  I chose "B" because the little girl's name is Brianna. Pin it to one of the panels.

Variation: You could sew a letter onto each panel, or a number, thereby creating a fun learning game!


7. Sew the letter onto the right side of the fabric, leaving 1/4" seam allowance all around.


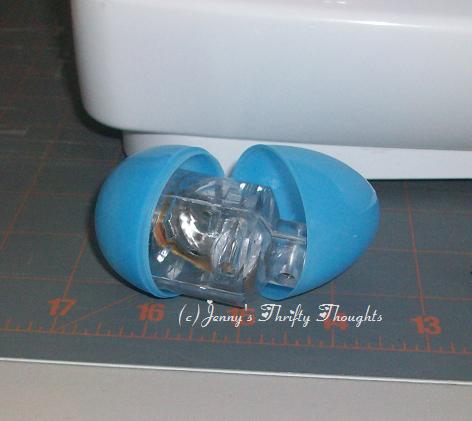
Here is the noise-maker I chose: it's an electronic bouncy thing that came out of one of the toys my dogs destroyed.  I taped it inside a plastic Easter Egg.


8. Sew the last seam 3/4 closed.  


9. Turn cube right-side-out.


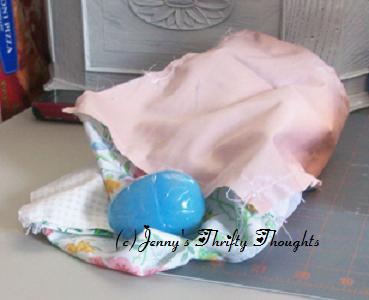
10.  Fill half full with poly-fiberfill.  Insert the noise-maker.


11.  Fill the rest of the way up with fiberfill, making sure to tuck it in to all the nooks and crannies.


12. Sew the hole shut by hand (not shown) and you're done!


Her birthday is tomorrow.  I'll let you know how she likes it!

Update: Next to 17 baby dolls that light up and spit and poop and God knows what else, she didn't even look at it.  At least her mom liked it. And I got a collective "awwww" from all the women at the party, lol.

Update 2: Her mom put it up on her dresser so she won't chew on it and get it all nasty. That's kinda missing the whole point...oh well.  

Sunday, May 2, 2010

The Taming of the Tie

I got my husband a really pretty tie at Goodwill a few months ago.  It's blue with a red shine going on, and it only had a small stain on the front that came off by rubbing with a damp cloth.

Time: 20 minutes (or less, if you're not having an animated phone conversation at the same time)


Supplies/Cost: $1

  • Tie - $1 at Goodwill
  • Ribbon scrap - on hand
  • Thread - on hand
  • Iron - on hand

Isn't it gorgeous?

The problem is, he won't wear it because it doesn't have a thingy in the back to hold the skinny end of the tie in place.  Here you can see the thread from where it used to be.

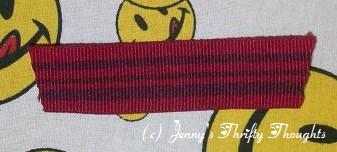
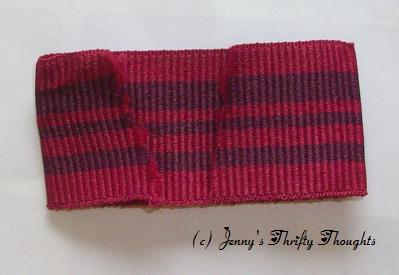
I thought, "I can fix that!" First I picked a piece of sturdy ribbon (I know, it doesn't really match, but hey, it was there).

I cut the ribbon's ends diagonally to stop fraying, although later I singed them with a lighter just to be sure.


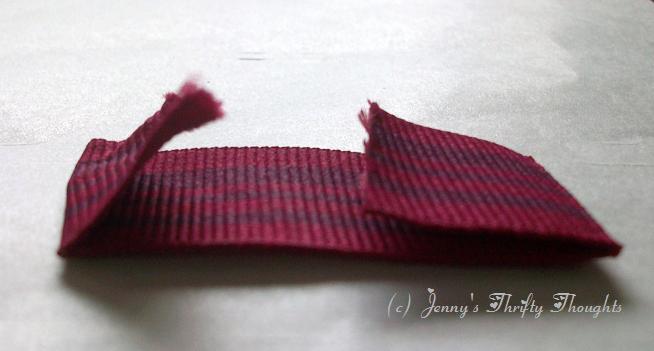
I ironed down two 1/2" flaps on the ribbon. Yes, I have a smiley face ironing board cover. Don't judge me.


Side View:


I sewed the ribbon approximately the same location as the threads telling where the last tie-holder-thingy had been.  I know, the thread doesn't match either. And those stitches are pretty horrible.  But I did go over them several times, so you can't really tell.


I stitched the other side of the ribbon to the back of the tie.  This was considerably more difficult, but not impossible.  And voila! A tie my husband will wear!