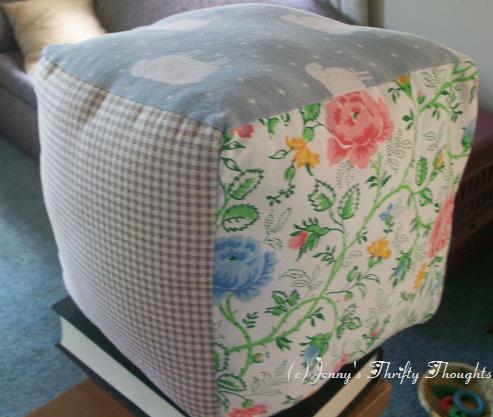
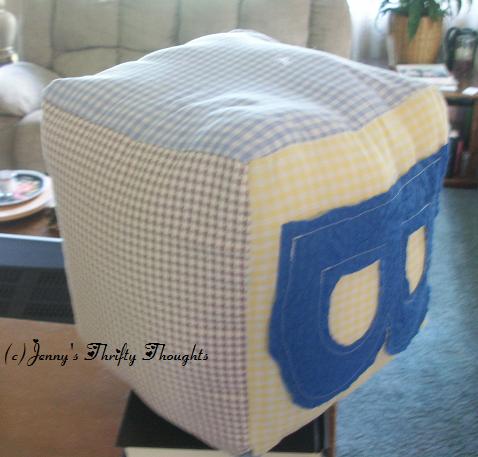
Birthday Girl! Plush Cube:
One of my friends' kids is turning one, and her birthday is tomorrow. Rather than go and buy something, I thought I'd whip something up. Inspiration hit me in the shower, and this is what came of it. This is my first official tutorial, so go easy on me!
Supplies:
- 9x9 fabric scraps (7 varieties)
- Thread
- Easter egg (or other plastic container)
- Noisemaker (ex: bells, etc)
- Stuffing/fiberfill
Time: This took me 2 hours, but I bet you could do it in less.
Tutorial
1. Cut each variety of fabric in an 8.5"x8.5" square.
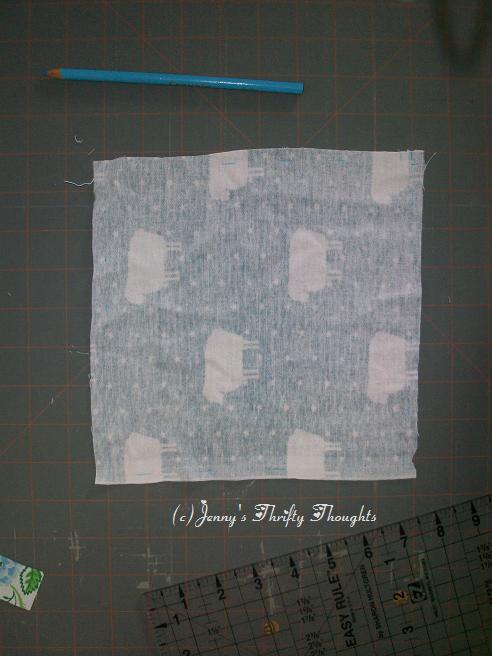
2. I find it easiest to mark the line I'm going to sew with a colored water-soluble pencil. You can *almost* see it here:
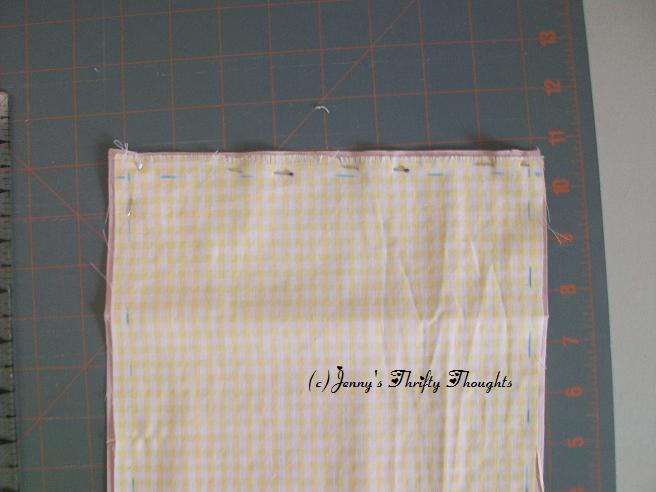
3. Pin two of the fabric squares together, right sides facing in.
4. Sew along the marked line.
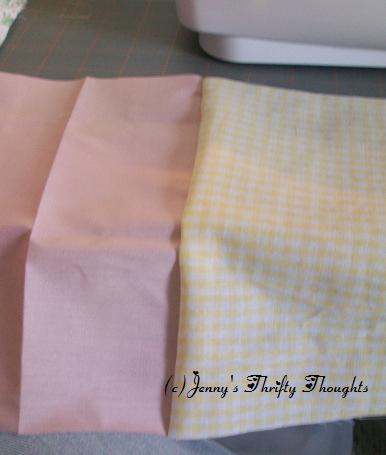
When you have sewn two squares, they should look like this when looking at the right side.
5. Repeat for all other panels. Piece them together to form a 6-sided cube, leaving one seam open.
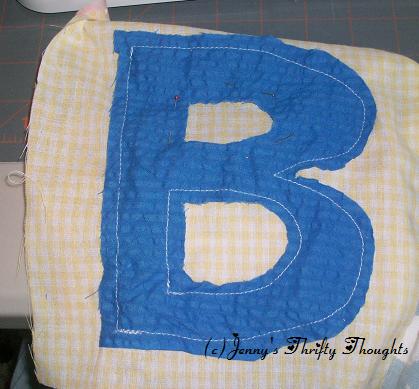
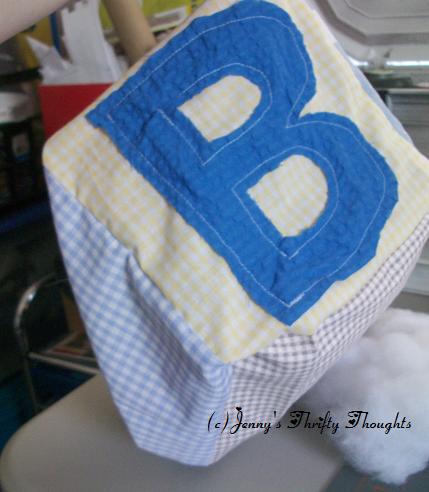
6. Trace and cut out the desired letter from a fun-textured fabric like this one. I chose "B" because the little girl's name is Brianna. Pin it to one of the panels.
Variation: You could sew a letter onto each panel, or a number, thereby creating a fun learning game!
7. Sew the letter onto the right side of the fabric, leaving 1/4" seam allowance all around.
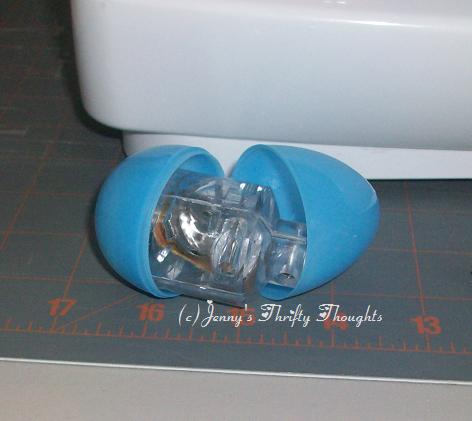
Here is the noise-maker I chose: it's an electronic bouncy thing that came out of one of the toys my dogs destroyed. I taped it inside a plastic Easter Egg.
8. Sew the last seam 3/4 closed.
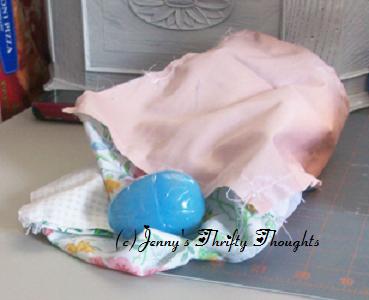
9. Turn cube right-side-out.

10. Fill half full with poly-fiberfill. Insert the noise-maker.
11. Fill the rest of the way up with fiberfill, making sure to tuck it in to all the nooks and crannies.
12. Sew the hole shut by hand (not shown) and you're done!
Her birthday is tomorrow. I'll let you know how she likes it!
Update: Next to 17 baby dolls that light up and spit and poop and God knows what else, she didn't even look at it. At least her mom liked it. And I got a collective "awwww" from all the women at the party, lol.
Update 2: Her mom put it up on her dresser so she won't chew on it and get it all nasty. That's kinda missing the whole point...oh well.

 Jenny