Showing posts with label Tutorial. Show all posts

Sunday, December 11, 2011

Pumpkins

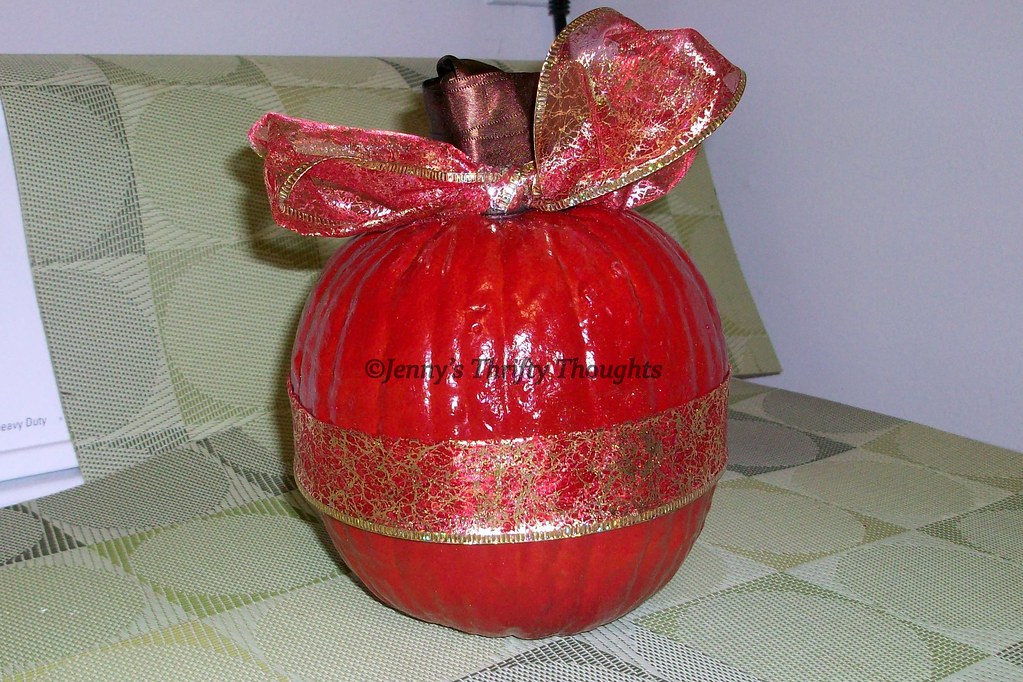
My boss decided it would be a faaaahhbulous idea to have a pumpkin-decorating contest and then cancel it at the last minute without telling anybody. Well, I was really sick that weekend, but I think I did ok.

Project Estimate:
  • Pumpkin ~ $1
  • Red spray paint ~ on hand
  • Ribbon ~ on hand
  • Hot Glue ~ on hand
I took a smallish pumpkin and spray painted it red. I tied the gold glittery ribbon around the middle and hot glued it to the pumpkin. I covered the stem with brown ribbon and hot glued that. Then I called it good and passed out.

Good job for only $1 and 30 minutes, yes?

Monday, June 6, 2011

Magazine Holder

Hello kittens! It's been a while since a crafty post, but I have been crafting away with my little ones at Y Care.  School is over now for the summer, but I have lots of pics to share with you.  This is one, and there will be more to come!

Take this ugly magazine/periodical holder:
And turn it into this:

I must say, looking at that brown cardboard thing (and its cousin, not pictured, equally hideous white with red cross hatch) made me want to fall asleep.  What to do? We could have painted it, but that seemed boring.  We could have stickered it, but that would be too kitschy.  Finally, I decided to bestow upon my charges the awesomeness of Mod Podge.  

Supplies:
-Magazine holder
-Brightly colored paper
-Mod Podge
-Foam brush

Time:
Varies; as little as 10 minutes (plus drying time), or as long as you want

Steps:
1.Gather brightly colored paper and ugly as death magazine holder.  Slather the surface of the cardboard with Mod Podge using the foam brush.
2. Place the first section of paper (mine was the yellow) and press down, eliminating the bubbles.  Continue with each additional section until done.
3. Cover the whole thing with a coat of Mod Podge.  Let it dry.
4. Behold your awesome new magazine holder! Be prepared for dozens of questions: "How'd you DO that?" He he he.
 
Tips:  
First, measure and mark horizontal lines for later guidance.  
Start with the lightest color first, layering the shades by light to dark.
Wrap corners like a Christmas present wrapping to avoid bunching.

Saturday, August 7, 2010

Tutorial: Decoupage with Sheet Music

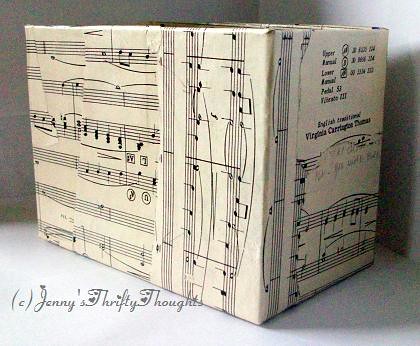
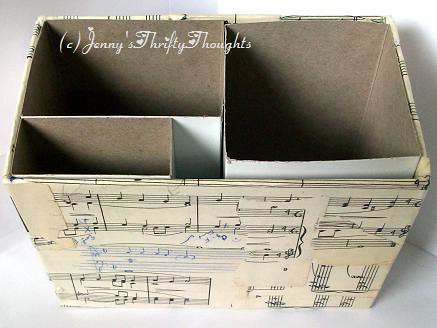
I posted before about my pencil caddy from a tampon box, then wondered what it would look like covered in something better.  Behold:
I got the sheet music for a quarter from a thrift store because it was falling apart. It ended up being Easter organ music.  I think the hand-written notations add charm.

Price: $0.25
Supplies: 

  • Old Sheet music
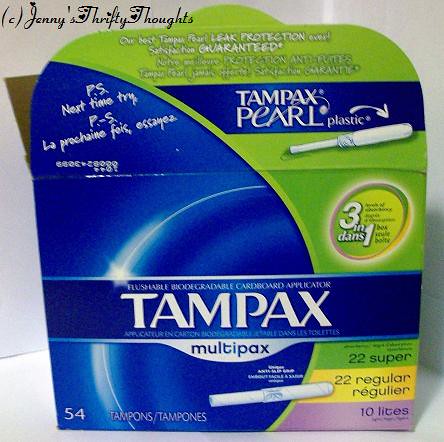
  • Empty Tampax Tampon box
  • Decoupage glue
  • Foam brush
  • White printer paper
Time: I did one side at a time, then let it dry for a few hours (or days, lol), so I have no idea. Probably a total of 1 hr or less.


1. Obtain the tampon box. Take out the inside boxes and hot glue the flaps to the inside.*
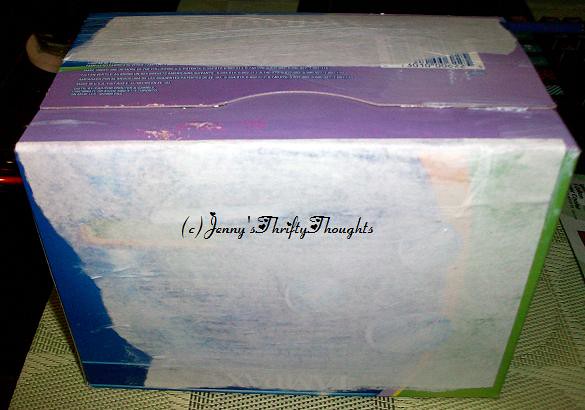
2. Using decoupage glue, adhere white paper to the boldest colored parts of the box. This step is not necessary if your sheet music is made of very thick paper.
3. Get your sheet music out and find the most interesting parts, to your eye.  Tear them out, or use the tears they already bear for an added touch.
4. Using decoupage glue, coat one side of the box.  Adhere strips or sections of sheet music. cover that with more decoupage. Make sure the sections are long enough to cover the inside flaps as well as the bottom edge.
Finished Product:
And here it is with all my writing utensils nice and neat. :)
If you make this project, be sure to link me up so I can see your wonderful creation!

*If some kind Blogger genius out there would like to show me how to get the dumb pics to show up side by side, I would be most grateful.

Saturday, July 24, 2010

Pink Saturday: Rosette Hair Tie & Clip Tutorial

Hello, readers! Happy Pink Saturday! This event is hosted every week by Beverly at How Sweet the Sound.  A whole day devoted to pink crafts, antiques, photos, and more.  Perfect!

A few weeks ago I was featured on the blog Recycled Crafts.  Since that tutorial was such a hit, I've decided to do another one.  And this one will be ridiculously detailed, too! Cuz that's how I roll.
                                 
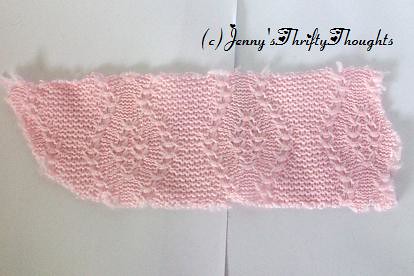
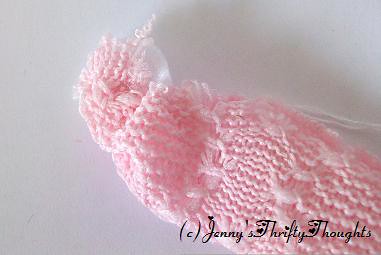
I started out with this scrap of knit material.  It was less than six inches long and about two inches wide. 
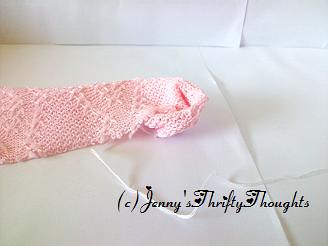
I folded it over, but didn't press it with an iron, so that it made a tube.
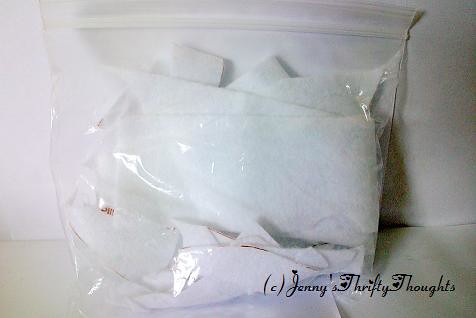
I had some leftover white felt from a Christmas stocking kit.
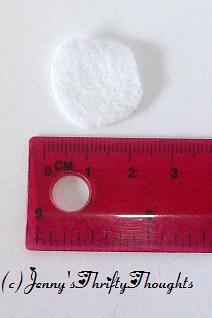
I took a small piece and cut it into a circle(ish) about 2cm in diameter.
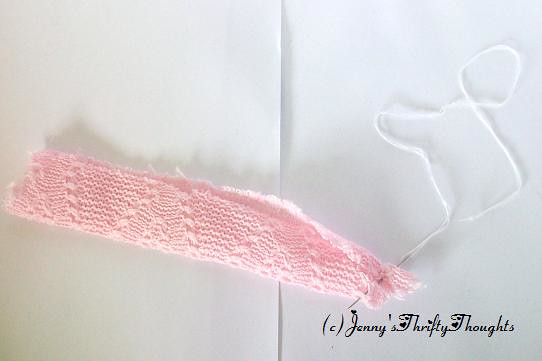
I threaded a needle with white embroidery floss (two strands only) and started with the uneven end.
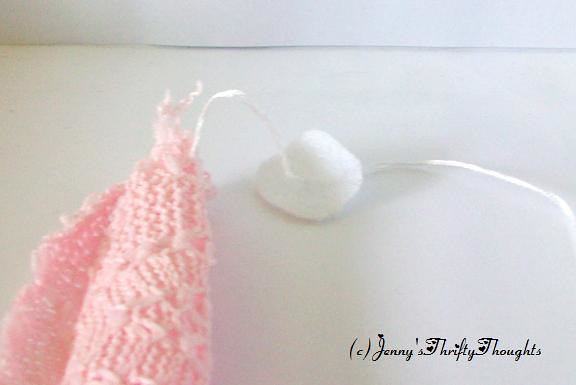
The first thing I had to do was attach the knit to the felt backing.
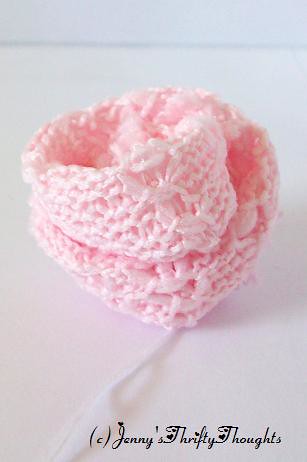
Keeping the raw edges of the knit scrap together, I sewed it onto the felt in concentric circles.
Here's another view of the sewing process:
And the finished rosette looked like this. I made two.
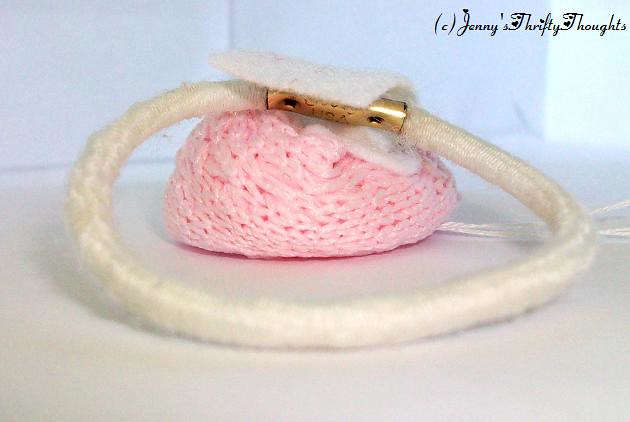
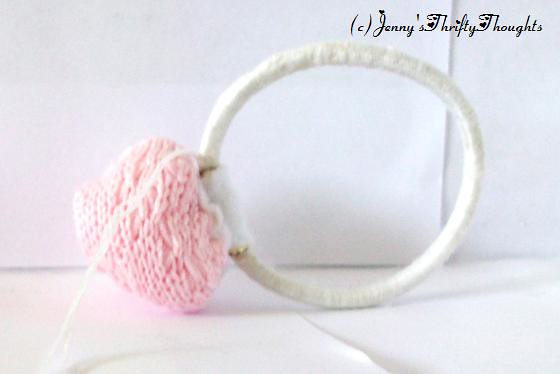
With the first one, decided to make an elastic hair tie.  I cut another small piece of felt, and sewed one side of it to the base of the rosette. I put the "ugly" part of the elastic band inside, and sewed the felt down over it.
I tested it in my hair and found that the elastic liked to slide around, so I sewed through it and anchored it to the felt.
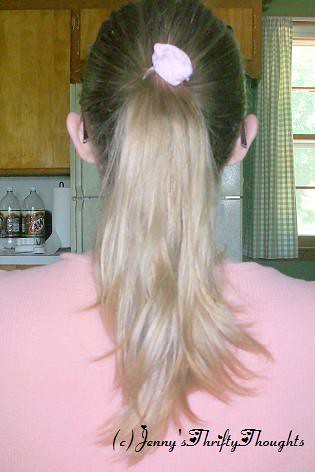
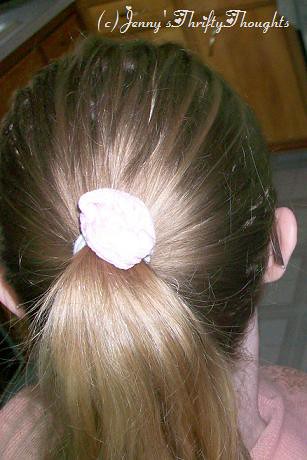
Here is the finished product in action.
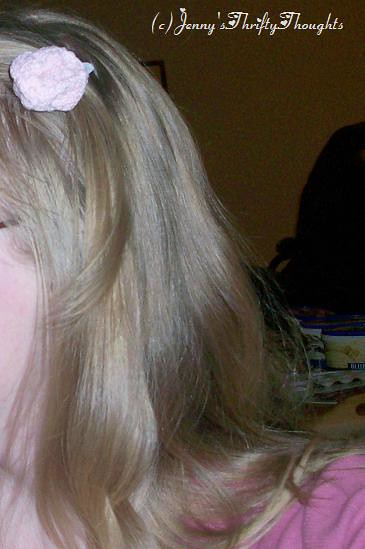
And a close-up:
Yep, folks, that's me.
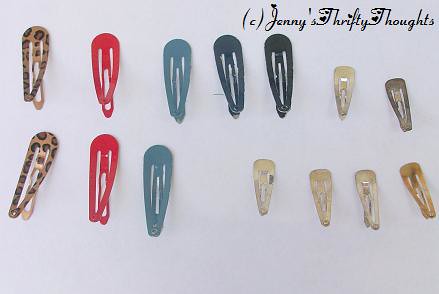
With the second rosette, I decided to make a clip.  I had lots of clips handy, and all of them were in colors that look horrible in my hair.
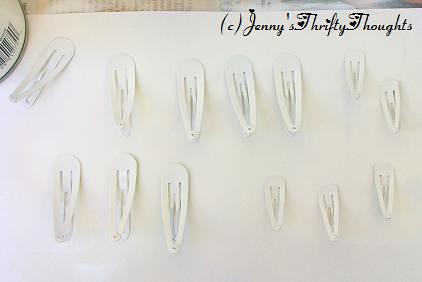
So I spray-painted them white, lol.  I wasn't sure it would work, but it did.  I also sprayed them with acrylic sealer, just to be sure.
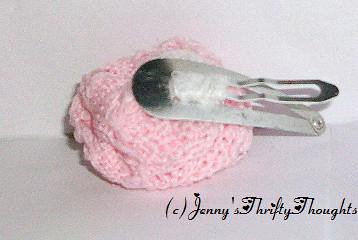
I used the same technique with the felt to secure the second rosette to the clip.
The underside was left silver-colored. It's better that way. Here's the front.
And here's a shot of the new hair clip in action.
I like it.  It's a very pale pink that sort of matches my complexion. 
If you decide to try this at home, leave a comment with a link to your pic! I'd love to see what you cook up!

Monday, July 12, 2010

Fixing an Oops!

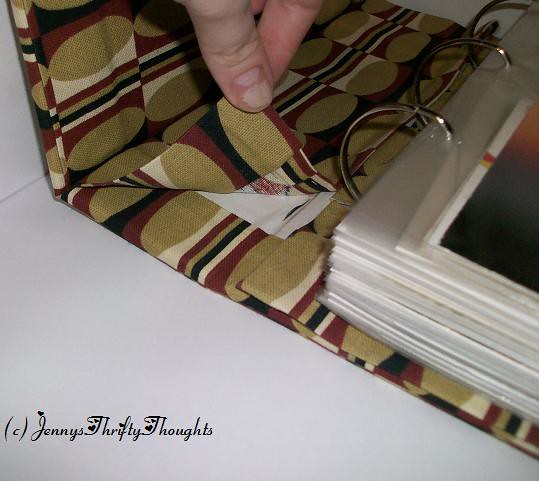
Sometimes we get super excited about a craft, and just when it's about to be done, miss a part.  This happens to the best of us, and it happened to me.  Remember the Postcard Album Makeover Tutorial I posted a while back? I noticed this the other day:
Ick. 
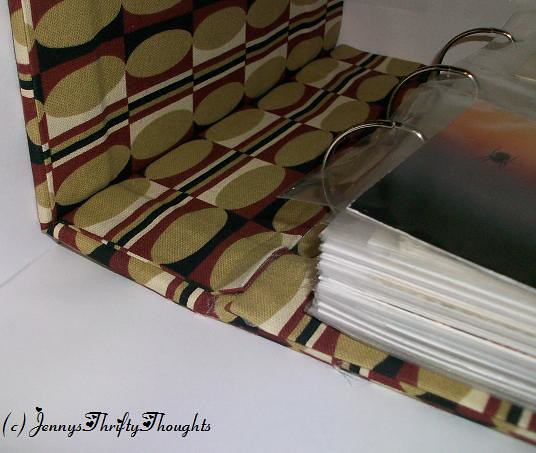
I got out my trusty glue-gun and sealed that flap down.  Now it looks like this:
As it should. I'm just glad the Oops was one I could fix!

Have any of you made over a photo album using this tutorial? Anyone? Danita?

Saturday, July 3, 2010

Pink Saturday: Bow-tie Hair Clip

Hello and happy Saturday! This week is my first official week on the Pink Saturday blog (even though I totally missed the deadline by 12 hours, she was fabulous enough to let me in anyway).  I've decided to write a tutorial for all you lovelies.  Be sure to visit her blog and check out all the Pink Saturday bonanza!


I've seen lots of tutorials out there for making bow-tie hair clips out of ribbon, but I have this fabric leftover from a previous project that I was dying to use.  So this is a tutorial on how to make a bow-tie hair clip from a strip of fabric.

Fabric Bow-tie Hair Clip

Time: 15 min.
Supplies: 

  • 1/4" fusible webbing
  • Measuring tape/ruler/etc.
  • 7"x1.5" strip of your favorite fabric
  • Hair Clip
  • Glue gun
  • Iron

Cost: Free for me, I had it all on hand.  But if you want to be picky:

  • Fusible webbing - $1
  • Hair clip - $2 for 6
  • I'm gonna go ahead and assume you have the rest.  Probably because I have no idea how much a tiny strip of fabric would even cost, lol.

1. Gather your supplies.  Here is a photo of the fusible interfacing I used.


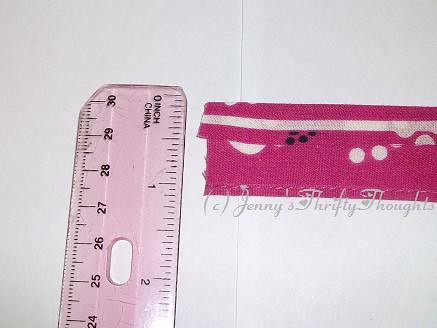
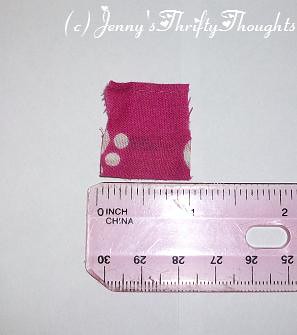
2. Measure your fabric, and cut to make it 1.5" wide by 6" long.  I know, I said 7" in the supplies list, just cut it off. You will need it later.


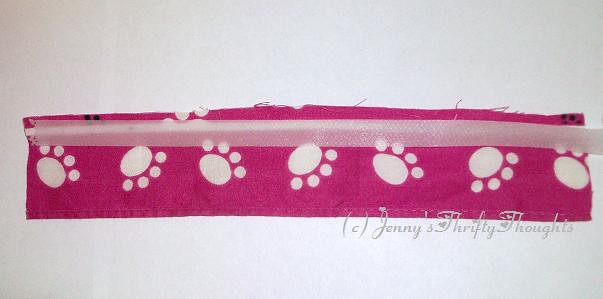
3.  Cut a piece of fusible webbing long enough to run the length of your fabric scrap.  Fold it over and iron according to the instructions on the webbing package.
Now your strip should be 1" wide.

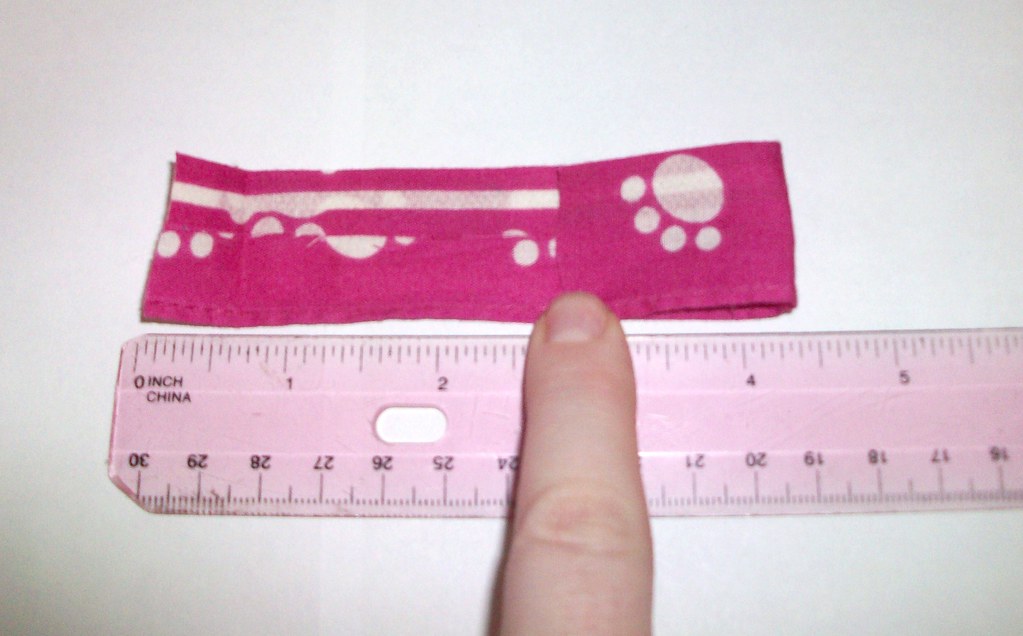
6. Using your ruler/tape measure as a guide, fold the right side to the middle, or the 3" mark. 

7. Fold the left side to the 3" mark. 
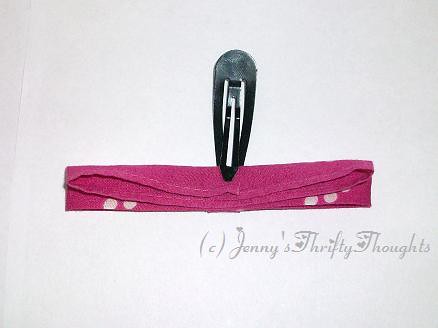
For this next part, I kept it all in place with the clip for photo purposes. The clip isn't really supposed to be there until the end. I'll let you know when it's for real.

8. Fold the bow in half, with the layered side facing outward.

9. Fold each side of the "sandwich" back by half, like below.

This is what it will look like if folded correctly. Now put that aside for a moment.

10. Use the cut off end of your fabric to create the "pincher" for the bow-tie.  It should be 1" long and 1.5" wide.  

11.  Lay a length of fusible interfacing along the middle, fold in, and iron.

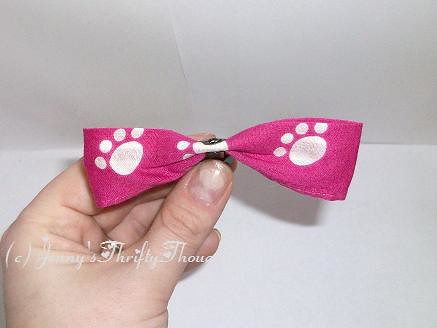
12. Wrap this piece around the bow and loop it through the hair clip (for reals this time! Use the hair clip!).  Hot glue it in place.

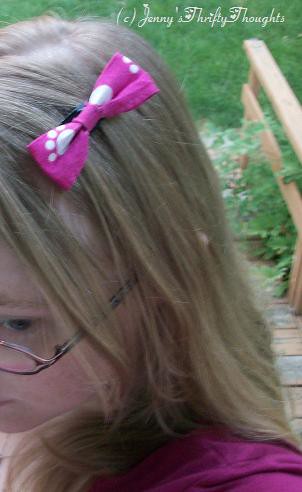
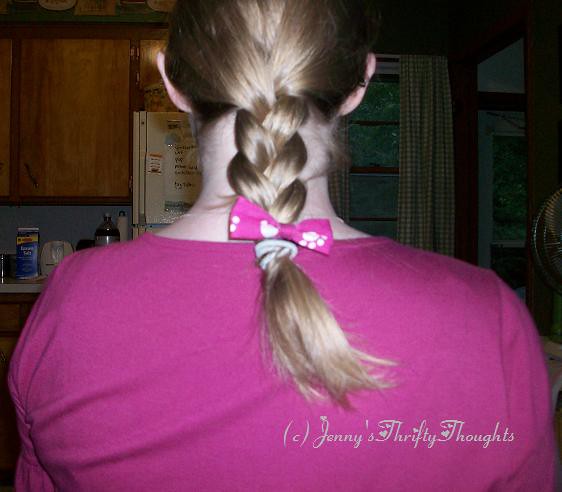
You're done! Here it is on my head (for scale).

And it even matched my shirt! I swear, I did not plan this.

I got the inspiration for this project from Hip Girl Boutique LLC, who did it with ribbon.

I swear I am going to get the best use out of that ratty old handkerchief I possibly can! LOL.