
My sewing stuff had been growing and growing...sorta like a blob. A blob made of pins and fusible webbing and chalk. I had my sewing supplies stashed in literally seven different containers, when I decided that I needed to do something. I wasted a lot of time looking for stuff. Way too much time.
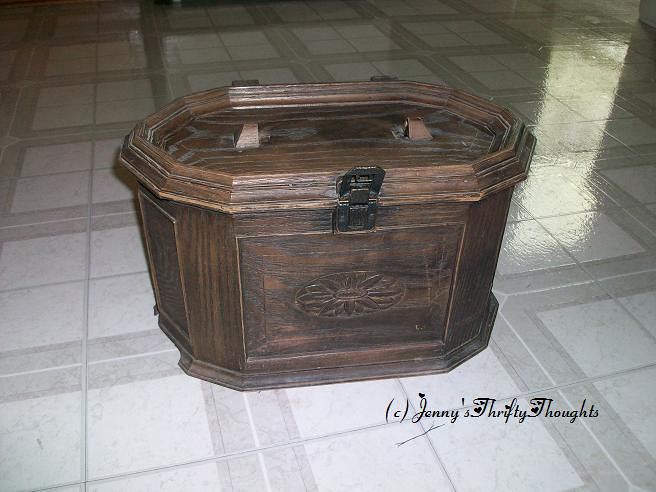
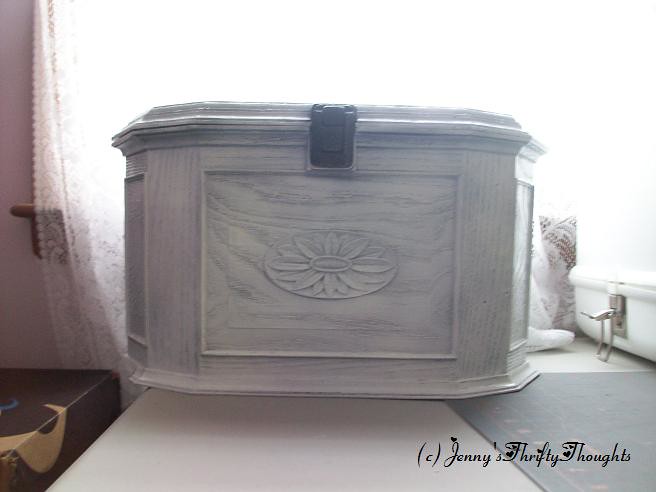
I found this sewing box at a garage sale last summer. It comes with this neat clear inset that holds thread and bobbins and stuff. I think I paid a dollar. And that included the vintage 60's dress patterns that I found inside (and intend to sell on eBay! Score!). Here it is. Looks all right, yes?
No. That is plastic we're looking at, folks. Wood-grained brown plastic. Gross.
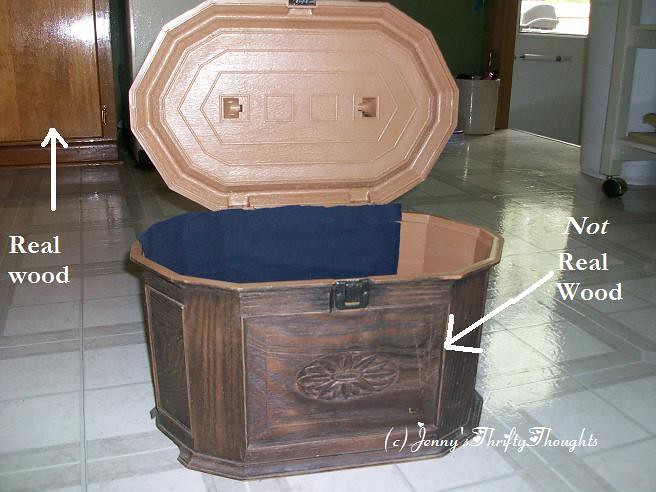
Here's a shot of the spacious inside, as well as my first (failed) attempt to make the inside less awful. Don't worry, I tore it out later.

After almost a year of thinking about what to do with this thing, my scissors got together and formed a strike until I made them a bigger apartment.
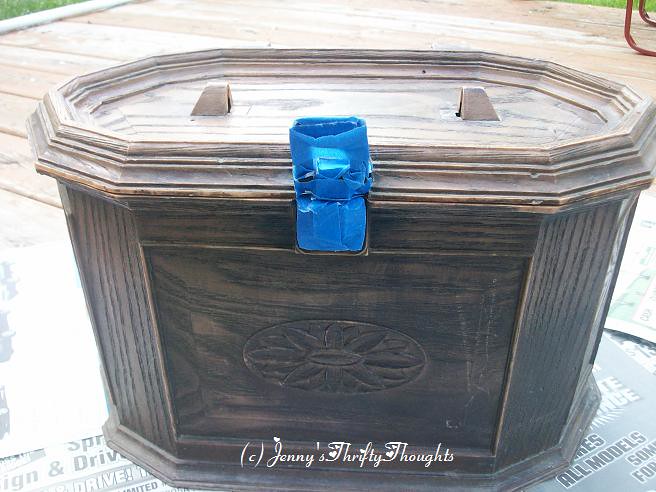
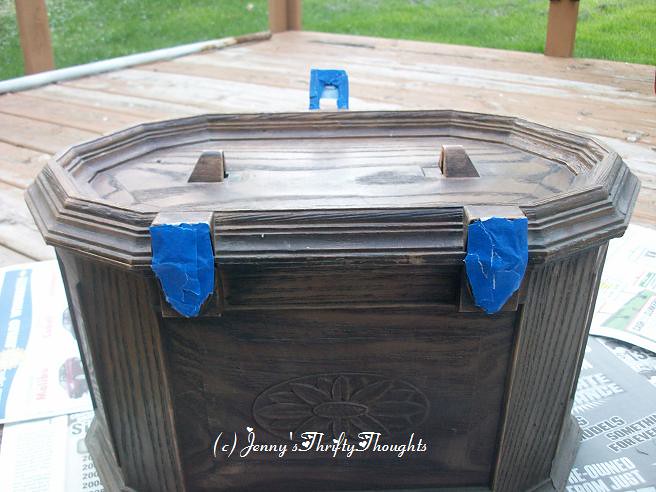
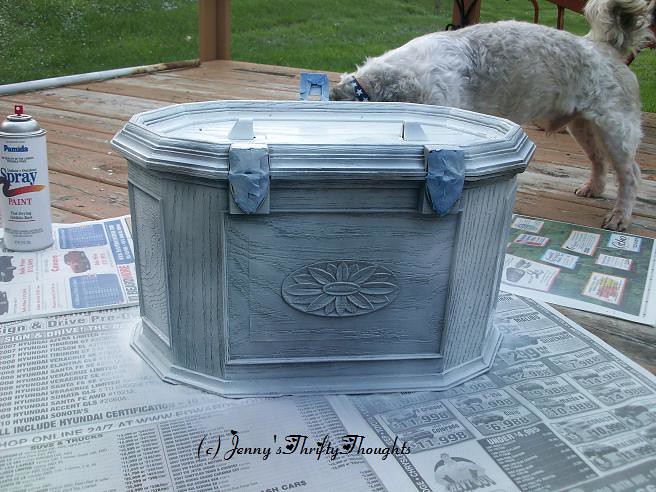
So outside we go, and taped up the hardware with painter's tape.
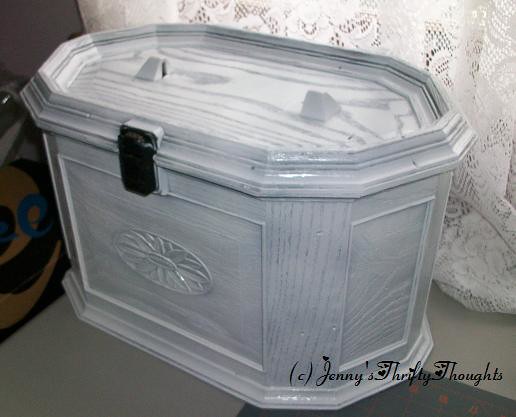
I lightly sprayed it with white spray paint, hoping and praying that it wouldn't just scratch off and look worse than ever. Here is Teddy inhaling Spray Paint fumes and trying to get me to throw his toy. You can kind of see how big it is if you use the dog and the spray can for scale. It's spacious. My scissors could live here and have a few friends over.
Here is the outside and inside lid after I got all 3 coats sprayed. I purposely left some of the grain dark because it looked cool. Besides, if I didn't like it, I could always go back and paint it again later. I left the inside alone, because I wasn't sure what I wanted to do with it yet.
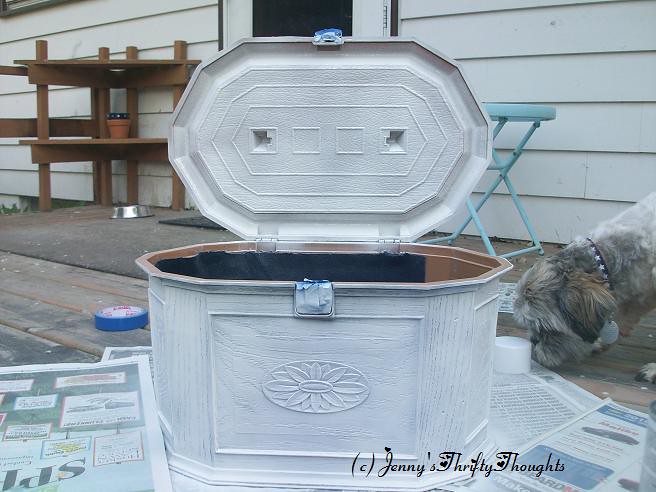
I sprayed the inner part where the clear thing that holds all the nifties sits, thinking maybe I could just cover the rest in fabric?

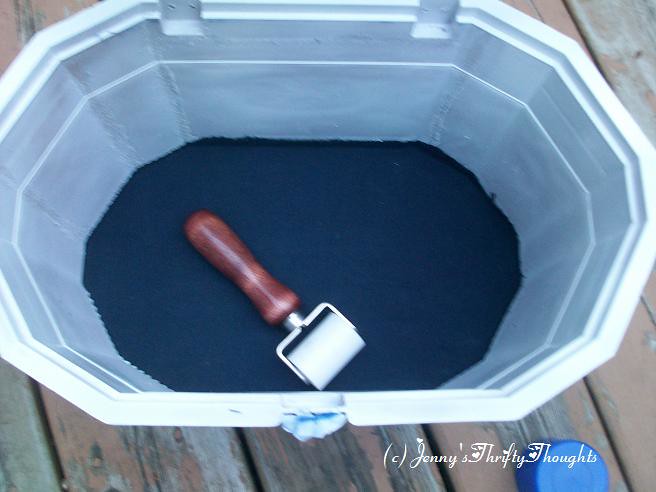
Nope. I tore off that piece in the above picture, and used spray adhesive to line the bottom of the box. I used that little roller to smoosh out any air bubbles. Yes, that's a technical term. Smoosh.
I let it dry for a few days, then sprayed the entire thing inside and out with clear spray paint. I thought maybe that would help with the scratch issue.
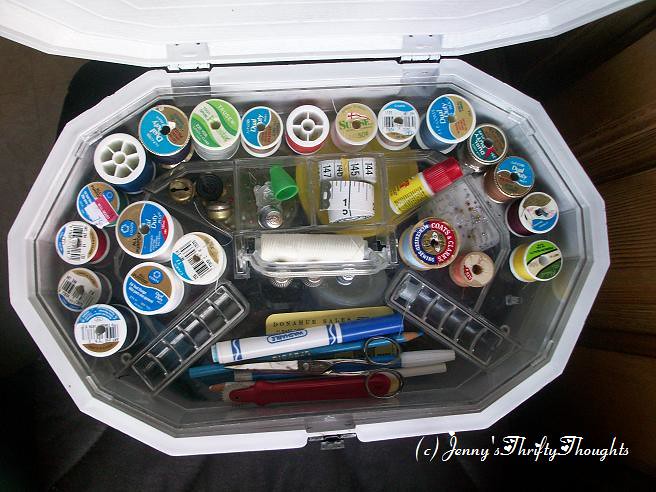
Finally, you get to see a picture of the awesome clear-tray-top-thingy. Is it not amazing? Are you not envious?
Here's what it looks like now, sitting on my sewing table.
I still need to rig up some sort of handle for the lid, but for now it works like it is.
I thought about maybe painting the raised portions black, like the sunflower and just the borders of those squares on the sides. Maybe the "molding" on the bottom, too. I don't know what type of paint I would use, though. Not spray paint, but I don't know enough about paint consistency and stuff to choose the right paint the first time.
Mainly I haven't because my scissors are now secure in their new home and no other crafting implements have banded together against me. Or I'm lazy. One of those.
5 comments:
Ok I don't sew because I suck as a woman... and as a daughter (my mom was a seamstress)... but Holy Blog Batman - LOVE the new look!!
*me beaming like a 5-year-old on show & tell day* It's all you, Sparks!
That is awesomesauce personified. I love it when things get updated and look better than before, making them useable instead of something tacky you wanna shove in a closet!
Great job!
Thanks, AW! It doesn't look perfect yet, though...
Cool sewing box!
Post a Comment