A few weeks ago I was featured on the blog Recycled Crafts. Since that tutorial was such a hit, I've decided to do another one. And this one will be ridiculously detailed, too! Cuz that's how I roll.
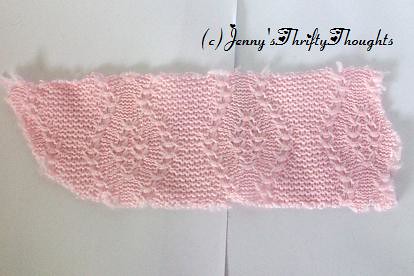
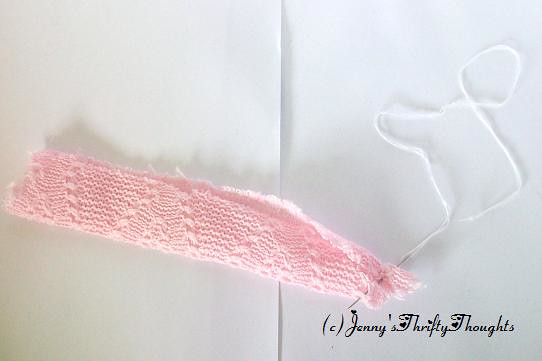
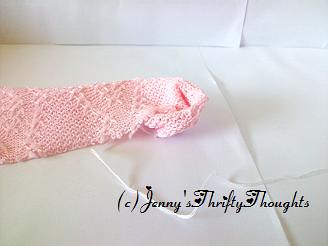
I started out with this scrap of knit material. It was less than six inches long and about two inches wide.
I folded it over, but didn't press it with an iron, so that it made a tube.
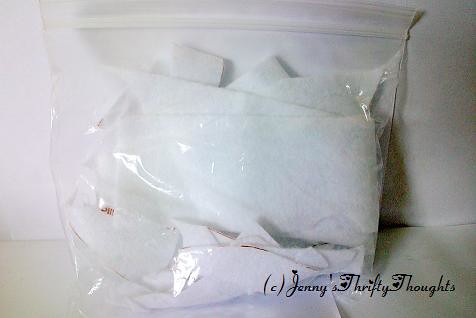
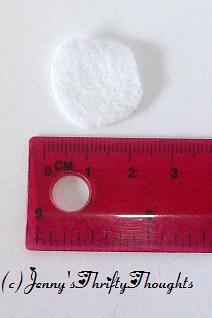
I had some leftover white felt from a Christmas stocking kit.
I took a small piece and cut it into a circle(ish) about 2cm in diameter.
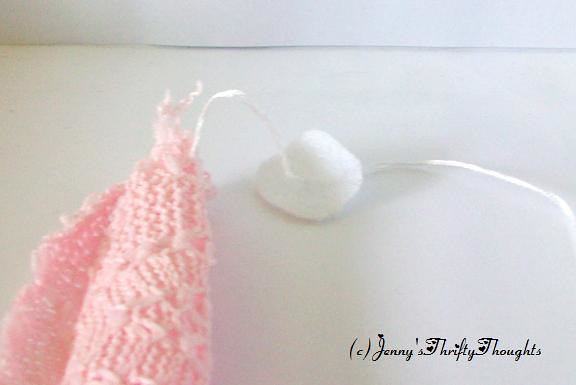
I threaded a needle with white embroidery floss (two strands only) and started with the uneven end.
The first thing I had to do was attach the knit to the felt backing.
Keeping the raw edges of the knit scrap together, I sewed it onto the felt in concentric circles.
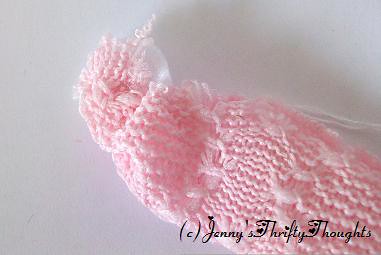
Here's another view of the sewing process:
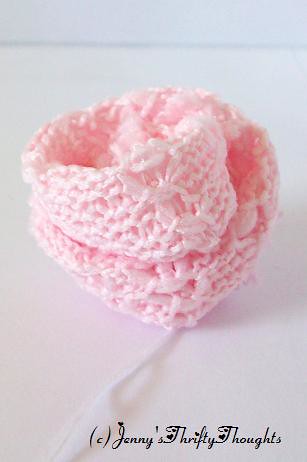
And the finished rosette looked like this. I made two.
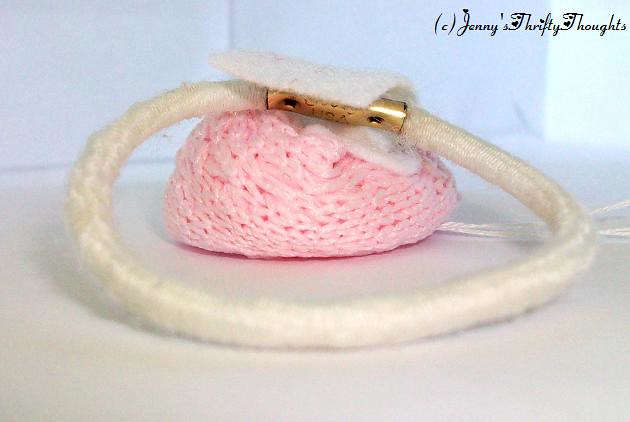
With the first one, decided to make an elastic hair tie. I cut another small piece of felt, and sewed one side of it to the base of the rosette. I put the "ugly" part of the elastic band inside, and sewed the felt down over it.
I tested it in my hair and found that the elastic liked to slide around, so I sewed through it and anchored it to the felt.
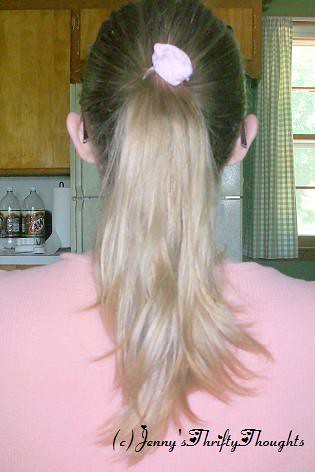
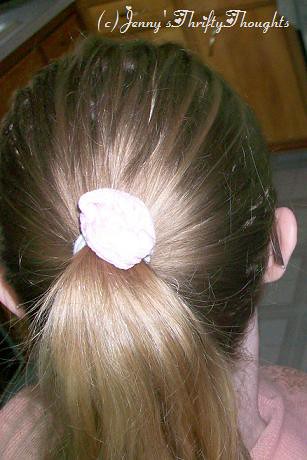
Here is the finished product in action.
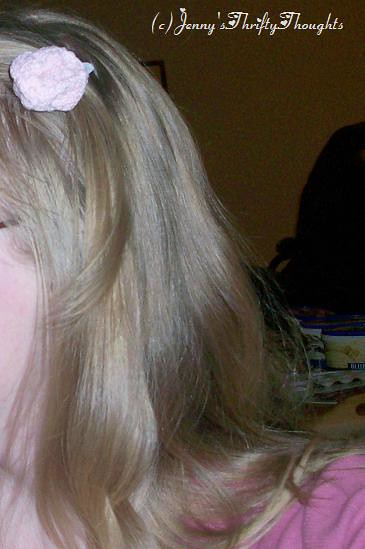
And a close-up:
Yep, folks, that's me.
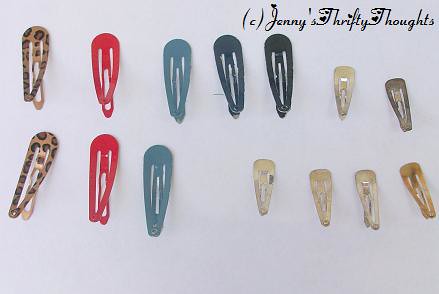
With the second rosette, I decided to make a clip. I had lots of clips handy, and all of them were in colors that look horrible in my hair.
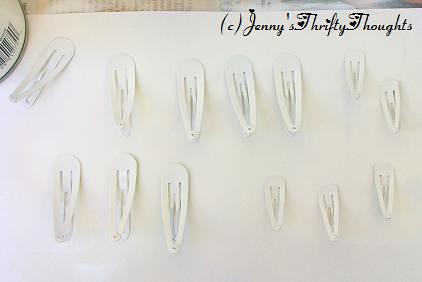
So I spray-painted them white, lol. I wasn't sure it would work, but it did. I also sprayed them with acrylic sealer, just to be sure.
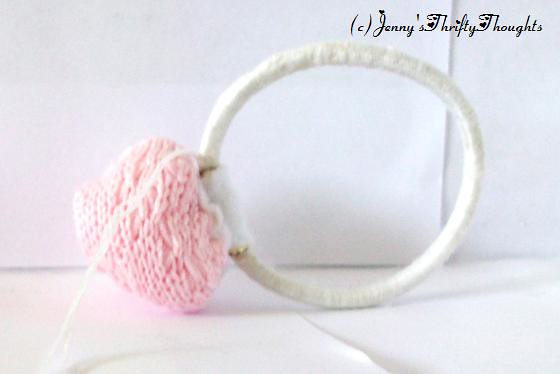
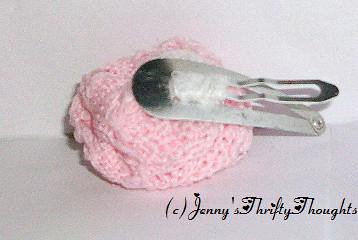
I used the same technique with the felt to secure the second rosette to the clip.
The underside was left silver-colored. It's better that way. Here's the front.
And here's a shot of the new hair clip in action.
I like it. It's a very pale pink that sort of matches my complexion.
If you decide to try this at home, leave a comment with a link to your pic! I'd love to see what you cook up!



11 comments:
How incredibly creative you are! Too bad my hair is too short to sport something so pinkedy-cute. I scrolled down and looked at your paint-by-number pic and I love all the colors of pink in it! I'm so glad you stopped by my blog this week for Pink Saturday!
Sherry @ A Happy Valentine
Happy Pink Saturday my friend. I love this little Tutorial. Thank you for sharing it with us. SWEET!
xoRebecca
Perfect!!! Happy Pink Saturday!
Hi Jenny Lou,
How I love the idea of your hair accessory. I have a granddaughter who would look so pretty with one. You make it look so easy. Its just wonderful. Thanks for sharing.
Anne-Marie
Such a very nice idea. Thanks for posting a great tutorial. Have a very pink day.
Great Tute, soo cute little clips from Bluefeather on swapbot. I have blogged about the swap at my blog if you would like to take a peak.
Great Tute! DanniJo85 from swapbot!
oh that is so sweet. thanks for sharing the tutorial!
Joannie
I'm a blogger, follow me! (swapbot)
Happy Pink Saturday,thank you for the Pink Tutorial pretty.
We all swap and I'm very glad I found you through swap bot. I have many things to learn.
Thank you for sharing.
Ayda (Diana) from I'm a blogger follow me swap
Hi! I'm Kimmakesstuff. I found your blog through Swap-bot (I'm a Blogger Follow Me Swap). I linked you on my blog. Greetings from Holland!
Post a Comment