Showing posts with label Pink Saturday. Show all posts

Saturday, July 24, 2010

Pink Saturday: Rosette Hair Tie & Clip Tutorial

Hello, readers! Happy Pink Saturday! This event is hosted every week by Beverly at How Sweet the Sound.  A whole day devoted to pink crafts, antiques, photos, and more.  Perfect!

A few weeks ago I was featured on the blog Recycled Crafts.  Since that tutorial was such a hit, I've decided to do another one.  And this one will be ridiculously detailed, too! Cuz that's how I roll.
                                 
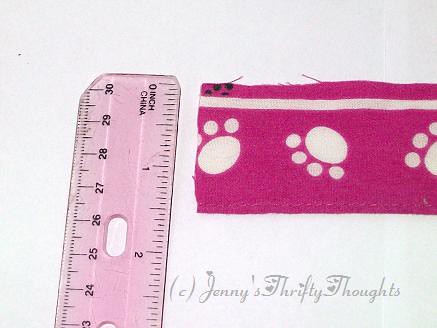
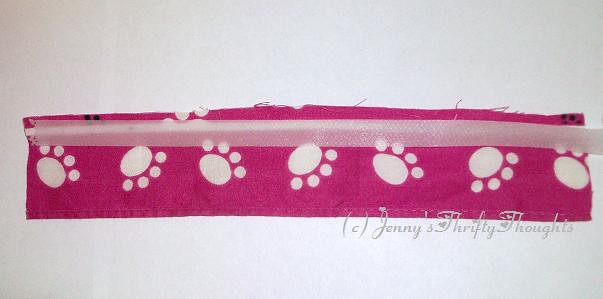
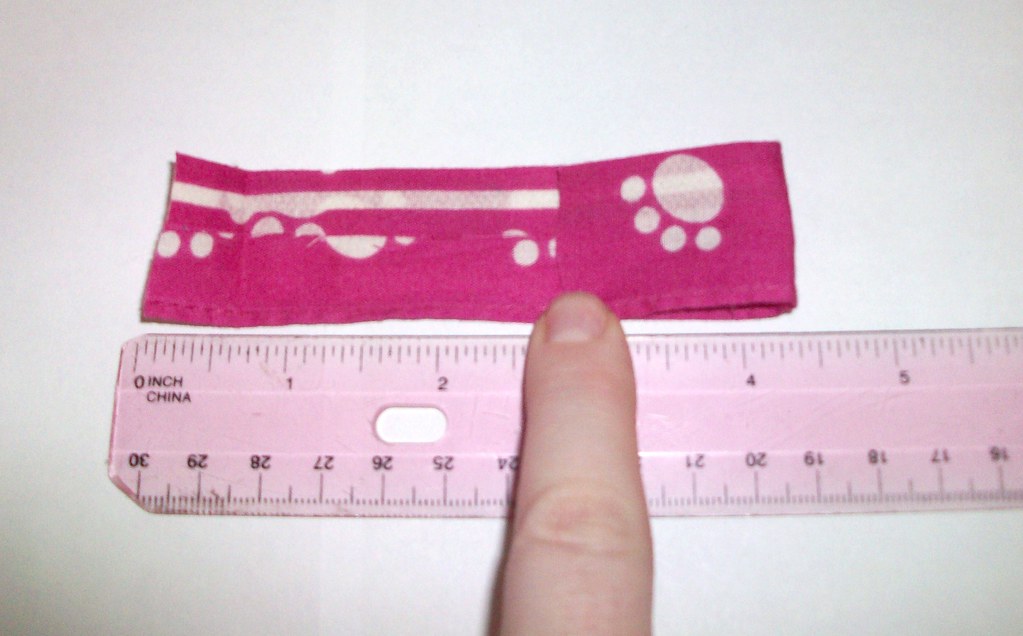
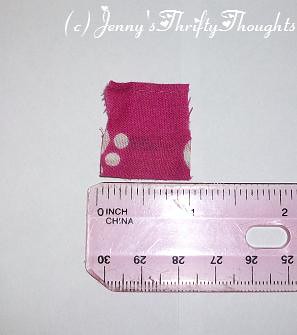
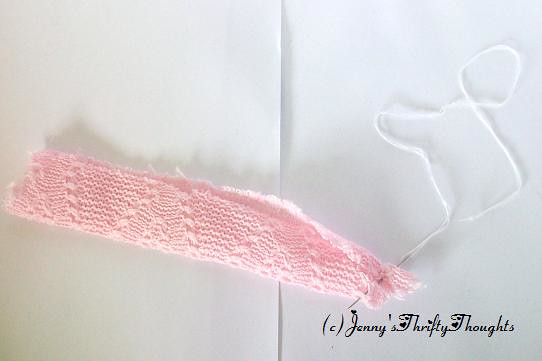
I started out with this scrap of knit material.  It was less than six inches long and about two inches wide. 
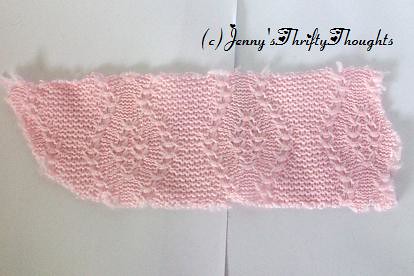
I folded it over, but didn't press it with an iron, so that it made a tube.
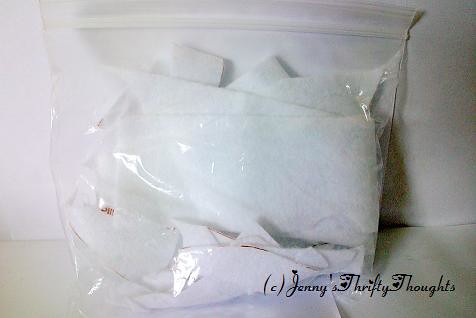
I had some leftover white felt from a Christmas stocking kit.
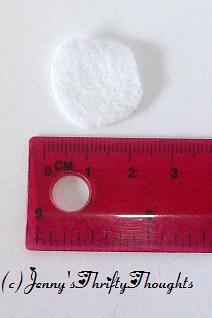
I took a small piece and cut it into a circle(ish) about 2cm in diameter.
I threaded a needle with white embroidery floss (two strands only) and started with the uneven end.
The first thing I had to do was attach the knit to the felt backing.
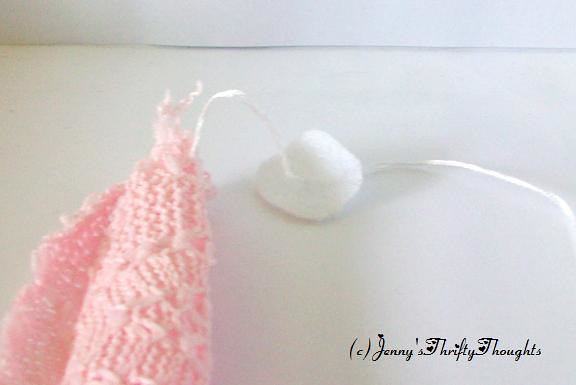
Keeping the raw edges of the knit scrap together, I sewed it onto the felt in concentric circles.
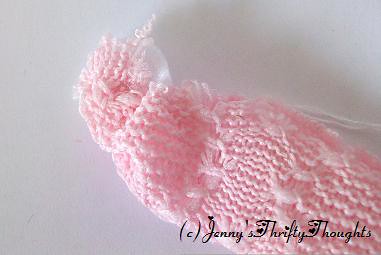
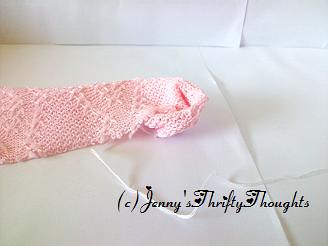
Here's another view of the sewing process:
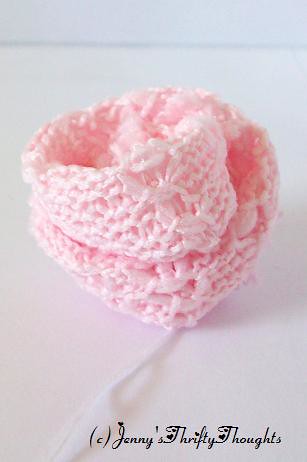
And the finished rosette looked like this. I made two.
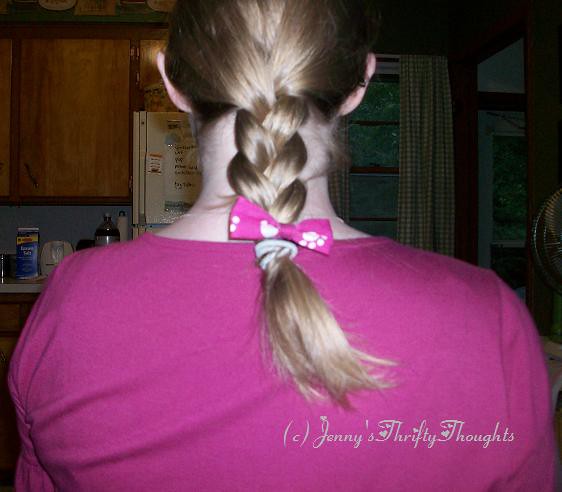
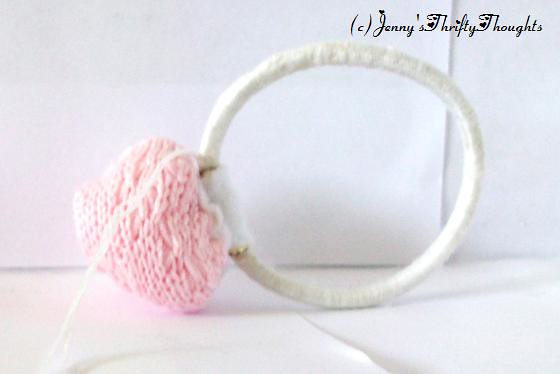
With the first one, decided to make an elastic hair tie.  I cut another small piece of felt, and sewed one side of it to the base of the rosette. I put the "ugly" part of the elastic band inside, and sewed the felt down over it.
I tested it in my hair and found that the elastic liked to slide around, so I sewed through it and anchored it to the felt.
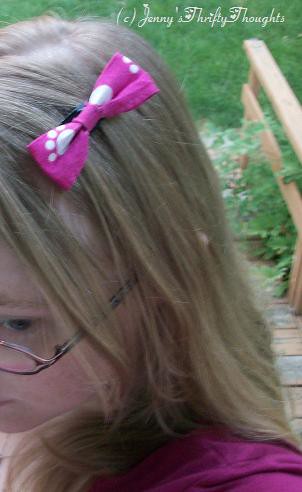
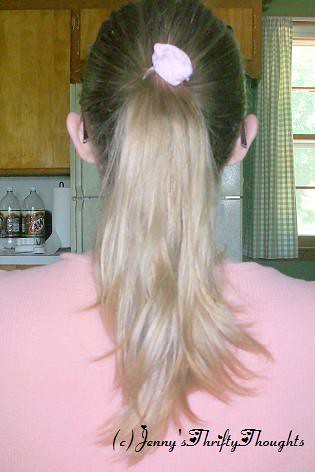
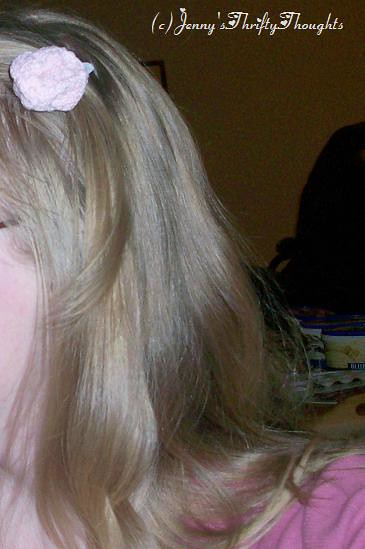
Here is the finished product in action.
And a close-up:
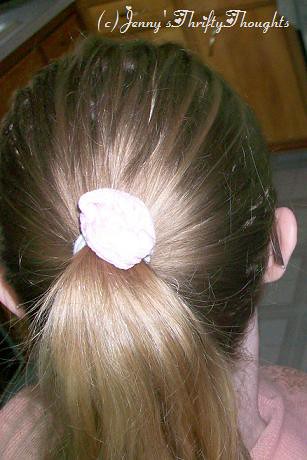
Yep, folks, that's me.
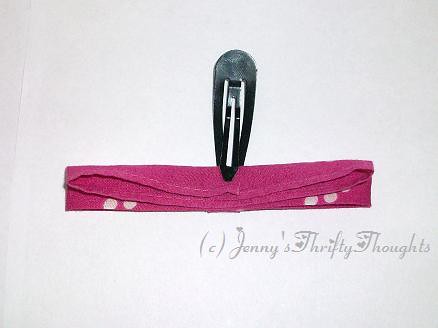
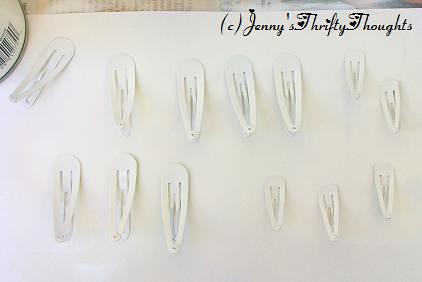
With the second rosette, I decided to make a clip.  I had lots of clips handy, and all of them were in colors that look horrible in my hair.
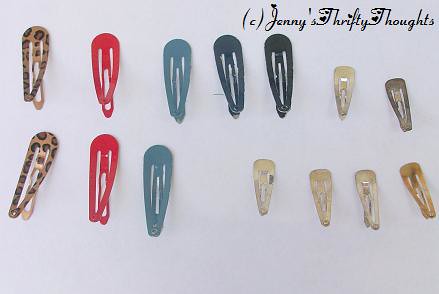
So I spray-painted them white, lol.  I wasn't sure it would work, but it did.  I also sprayed them with acrylic sealer, just to be sure.
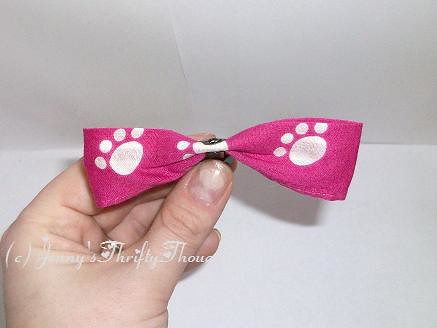
I used the same technique with the felt to secure the second rosette to the clip.
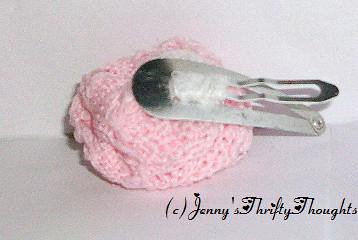
The underside was left silver-colored. It's better that way. Here's the front.
And here's a shot of the new hair clip in action.
I like it.  It's a very pale pink that sort of matches my complexion. 
If you decide to try this at home, leave a comment with a link to your pic! I'd love to see what you cook up!

Saturday, July 17, 2010

Pink Saturday: Paint by Numbers

It's Pink Saturday again! Hosted by Beverly at How Sweet the Sound, Pink Saturday is a linktastic party of all things pink.

A few weeks ago, I posted a tutorial for Pink Saturday on bow-tie hair clips.  To my delight, it was featured on Recycled Crafts blog! My last post is all about that awesome discovery.  You should check it out.  I think I'll make a bunch more!

This week is about Paint by Numbers. Not just for kids anymore, folks! My grandpa, who passed away last year at the age of 74, diligently painted dozens of them over the years. Really intricate, detailed ones.  And his last one, the one he never finished, went to me.  I was honored.  It's very large and not done yet, so I'm going to show you another one that I did, featuring the many shades of my favorite color: PINK!

It's 10"x14", so it will have to be cut down to fit in a frame, which seems like it would detract from the beauty of it. Right now it's just leaning against a collection of milk glass on my hall table.  It does bring me joy when I see it as I walk in the front door.
It was supposed to be different colors, I think, but I chose to paint it as you see it.  It's not perfect, but I think it's beautiful.

I'm now working on another of the same size, also purchased at Wal-Mart. Here's a sneak peak:
I'll show the journey and the finished product when it's all done. I'm getting hung up a little by the paints - see all those clearance stickers? That means it was super old.  Which means that six of the paint pots dried up and I've had to try and mix colors I already had to match them. Stay tuned for the finished product!

P.S. Make sure you stop by and visit Marina at Only Cute Things. She's cute, she's scrapbook-y, and she blogs in two languages!

Saturday, July 10, 2010

Pink Saturday: Vintage Postcard

It's Pink Saturday!  Beverly at How Sweet the Sound hosts this little party every week and I love it, because I love all thinks PINK!
I'm an avid collector of postcards, and when I can afford it, vintage ones. I love the pictures and the stories they tell.  This one was purchased in Omaha's Old Market at a vintage store.  And it's pink!

Here is the reverse:

If you can't read that light handwriting, I can't help.  It's written in a different language.  I do see that it was sent on October 4th, but not what year.  And it's addressed to Mr. H. something Glissmann in Omaha, NE.

Coincidentally, one of my best friends from college and bridesmaid was from Walcott, Iowa.  And I have been there.  They boast the I-80, the world's largest truckstop! And no, I'm not kidding. They call it that. I've been there.

Each week, Beverly of How Sweet the Sound, the hostess of this wonderful Pink Saturday, challenges us to visit the blog of at least one participant that you have never visited before.  Then next Saturday include that blog and a link in your post.  So this week I'm featuring two because I can't decide which one I like more.  


Maria at Bubble Gum and Duct Tape is the bee's knees. And the gal at Cabin & Cottage posted this to die for stackable pink teapot, butter dish, and creamer set.  Happy Pink Saturday!


**EDIT**


Sparks says that my blog is being bitchy and won't let her comment.  Well, she didn't say that exactly, but I couldn't click on the comment thingy myself.  While I try to sort that out, ponder this: she sent me an email transcribing the postcard.  Apparently it says 


Lieber freund,
Einen herzlichen grĂ¼ss um ?? und familien.

Um, thanks.  I don't speak German.  Google Translator to the rescue!

Dear friend, Sincere greetings to ___ and family. 


**EDIT 2** I think I fixed the problem, but I need a commenter to test it out.

Saturday, July 3, 2010

Pink Saturday: Bow-tie Hair Clip

Hello and happy Saturday! This week is my first official week on the Pink Saturday blog (even though I totally missed the deadline by 12 hours, she was fabulous enough to let me in anyway).  I've decided to write a tutorial for all you lovelies.  Be sure to visit her blog and check out all the Pink Saturday bonanza!


I've seen lots of tutorials out there for making bow-tie hair clips out of ribbon, but I have this fabric leftover from a previous project that I was dying to use.  So this is a tutorial on how to make a bow-tie hair clip from a strip of fabric.

Fabric Bow-tie Hair Clip

Time: 15 min.
Supplies: 

  • 1/4" fusible webbing
  • Measuring tape/ruler/etc.
  • 7"x1.5" strip of your favorite fabric
  • Hair Clip
  • Glue gun
  • Iron

Cost: Free for me, I had it all on hand.  But if you want to be picky:

  • Fusible webbing - $1
  • Hair clip - $2 for 6
  • I'm gonna go ahead and assume you have the rest.  Probably because I have no idea how much a tiny strip of fabric would even cost, lol.

1. Gather your supplies.  Here is a photo of the fusible interfacing I used.


2. Measure your fabric, and cut to make it 1.5" wide by 6" long.  I know, I said 7" in the supplies list, just cut it off. You will need it later.


3.  Cut a piece of fusible webbing long enough to run the length of your fabric scrap.  Fold it over and iron according to the instructions on the webbing package.
Now your strip should be 1" wide.

6. Using your ruler/tape measure as a guide, fold the right side to the middle, or the 3" mark. 

7. Fold the left side to the 3" mark. 
For this next part, I kept it all in place with the clip for photo purposes. The clip isn't really supposed to be there until the end. I'll let you know when it's for real.

8. Fold the bow in half, with the layered side facing outward.

9. Fold each side of the "sandwich" back by half, like below.

This is what it will look like if folded correctly. Now put that aside for a moment.

10. Use the cut off end of your fabric to create the "pincher" for the bow-tie.  It should be 1" long and 1.5" wide.  

11.  Lay a length of fusible interfacing along the middle, fold in, and iron.

12. Wrap this piece around the bow and loop it through the hair clip (for reals this time! Use the hair clip!).  Hot glue it in place.

You're done! Here it is on my head (for scale).

And it even matched my shirt! I swear, I did not plan this.

I got the inspiration for this project from Hip Girl Boutique LLC, who did it with ribbon.

I swear I am going to get the best use out of that ratty old handkerchief I possibly can! LOL.


Saturday, June 26, 2010

Pink Saturday: Decopage With Cloth

I've been watching the blog How Sweet The Sound for a while, and she does this amazing thing called Pink Saturday, Pink is my favorite color, everyone.  When I was a single gal, I had pink bedding, pink pillows, pink blankets, pink artwork, and now I have to limit my pink to crafts.  But I do have a pink cell-phone. And even though I don't have a regular phone line in my house, it would be fantastic to own a vintage pink rotary phone.  Ahh, a girl can dream.

Evidently, a girl has to email her intent to participate the day before, so this isn't an "official" Pink Saturdays entry.  But it's Pink, and today is Saturday, so here we go.

I was reading the directions on my Mod Podge the other day, and was amazed to see that included in the list of items one can mod podge was cloth.  I decided to try it out.

Here is a completely adorable bandana that I tied around Lucy's (the beagle) neck ever now and then, but then we got Hannah (the spaniel) and she ripped it to shreds. :(.  

I got this little cardboard box for $0.10 at Goodwill, and saw loads of potential.
I was originally going to cover it with that pretty paper in the background, but I didn't have enough.
Note the pink phone. Fabulous, is it not?

Before I did anything to it, I wanted to take away the tacky seafoam green and gold sponging.  So I covered it in a light coat of white paint.  

I didn't document the process, mainly because it was an experiment that lasted a whole week, bits here and bits there.  So ... ta-da! Fully covered in cloth, inside and out, held on by decopage.
Later I sprayed it with a matte Mod Podge sealer, and some of the weird textures went away.

I had one problem with my brilliant plan, however:
Box won't close.  I should have seen this coming. *facepalm*

If I jam it on really hard, it only tears the lid a little...

The question: Can one decopage with cloth?

The answer: Yes, but not very well.  I had pockets of air that I couldn't get rid of no matter what I tried.  It stripped the white paint off in places. As you can see from the photos, some of the corners had to be folded over, and it doesn't work so well through three layers.  

The verdict: Oh well.  At least it's pretty ;)