
I got my husband a really pretty tie at Goodwill a few months ago. It's blue with a red shine going on, and it only had a small stain on the front that came off by rubbing with a damp cloth.
Time: 20 minutes (or less, if you're not having an animated phone conversation at the same time)
Supplies/Cost: $1
- Tie - $1 at Goodwill
- Ribbon scrap - on hand
- Thread - on hand
- Iron - on hand
Isn't it gorgeous?

The problem is, he won't wear it because it doesn't have a thingy in the back to hold the skinny end of the tie in place. Here you can see the thread from where it used to be.

I thought, "I can fix that!" First I picked a piece of sturdy ribbon (I know, it doesn't really match, but hey, it was there).

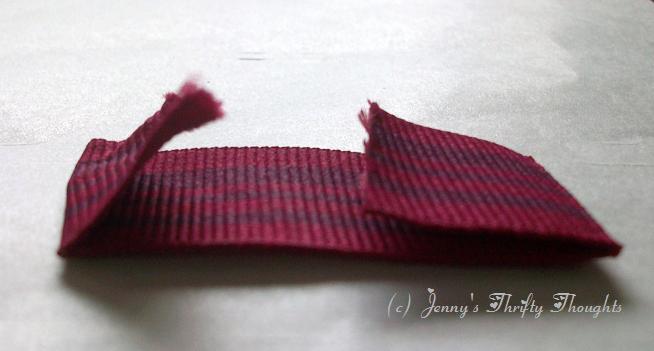
I cut the ribbon's ends diagonally to stop fraying, although later I singed them with a lighter just to be sure.
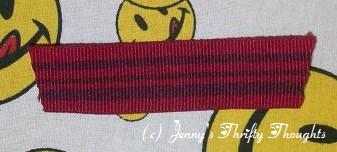
I ironed down two 1/2" flaps on the ribbon. Yes, I have a smiley face ironing board cover. Don't judge me.
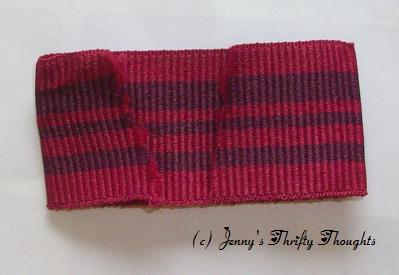
Side View:
I sewed the ribbon approximately the same location as the threads telling where the last tie-holder-thingy had been. I know, the thread doesn't match either. And those stitches are pretty horrible. But I did go over them several times, so you can't really tell.

I stitched the other side of the ribbon to the back of the tie. This was considerably more difficult, but not impossible. And voila! A tie my husband will wear!

0 comments:
Post a Comment